
 (excl. BMX)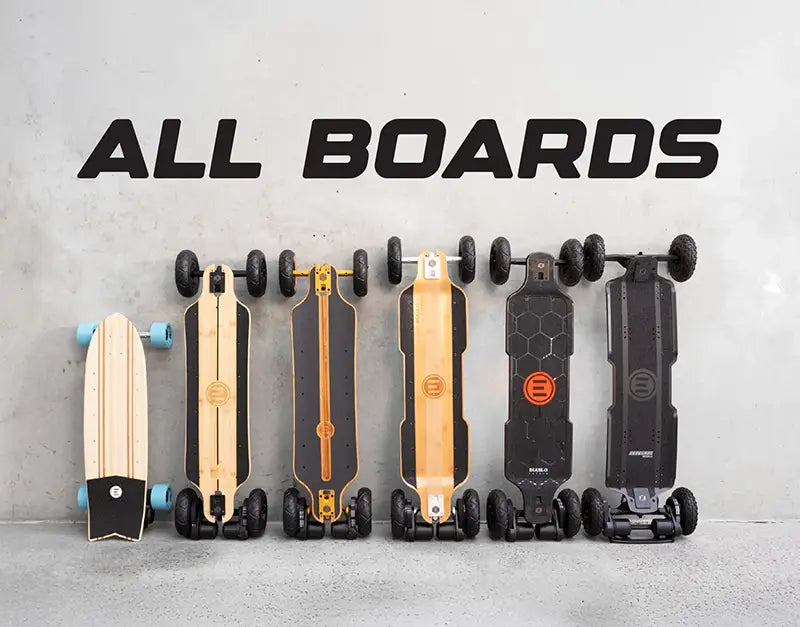
How to replace an all-terrain tyre, tube or split hub
How to replace an all-terrain tyre, tube or split hub
A punctured all-terrain tyre feels like the end of a ride, but it rarely means the wheel itself is finished. Evolve's pneumatic all-terrain wheels use a two-piece hub design, which means the tyre, the tube and the hub can each be replaced on their own. You do not need to buy a whole new wheel because of one puncture or a worn tyre.
Understanding what you are actually working with
The all-terrain wheel is built from three separate parts working together: an outer tyre, an inflatable inner tube, and a hub made from two halves clamped together. Six screws pass through one hub half and thread into six nuts captured inside the other half. Both hub halves have a notch cut into them for the tube's valve, and these two notches need to line up when you put everything back together.
Once you understand that the hub is really just a clamp holding the tyre and tube in place, the whole job stops feeling mysterious. You are not disassembling anything electrical or structural. You are opening a clamp, swapping a worn part, and closing it again.
Getting the wheel ready
Before you touch the hub, remove the wheel from the board and let all the air out of the tube completely. Trying to separate a hub while there is still pressure inside the tube makes the job harder and less predictable, so take the time to deflate it fully first.
Work with the wheel lying flat on a table or the floor rather than balanced on its edge. Keeping it flat matters more than it sounds like it would, because the six nuts inside the lower hub half are only held in place by gravity and the shape of their recess. Tip the wheel on its side mid-job and you risk a nut dropping out and rolling away, which turns a five-minute task into a search under the workbench.
Opening the hub
With the wheel flat, use a 1/8-inch Allen key to fully loosen all six hub screws. There is no need to remove them completely from the upper half of the hub. Once they are loose, work your fingers in around the inside edge of the hub and gently separate the top half from the tyre. A firm push down on the lower half will release it from the tyre as well.
At this point you can lift the old tube out and inspect the tyre. If the tyre itself is still in good shape and you are only dealing with a puncture, you can reuse it. If the tyre is the problem, this is your chance to swap it out entirely.
Fitting the new tube or tyre
Put a small amount of air into the replacement tube, just enough for it to hold its shape, then work it evenly into the tyre so it sits fully inside without any part of it bunched up or twisted. This is the step people rush, and it is the step that causes the most repeat punctures.
The tube needs to stay clear of the tyre bead and away from the area where the two hub halves will clamp together. If any part of the tube is pushing out into that mating surface, reposition it before you go any further. Tightening the hub down onto a trapped section of tube will pinch it, and you will be back to square one with a flat tyre before you have even ridden it.
Closing the hub back up
Line up the tube's valve with the valve notch in the lower hub half, then seat the tyre and tube into that half properly. Place the upper hub half on top, making sure its valve notch lines up with the same valve, and bring the two halves together.
Start each of the six screws by hand before you tighten anything fully, then bring them down gradually in a crisscross pattern rather than working around the hub in a circle. This spreads the clamping pressure evenly and gives you a much better seal. If a screw ever spins without biting, stop and check that the captured nut on the other side has not shifted out of its recess. Push it back into place before you keep tightening.
Once everything is seated, inflate the tyre to 45 PSI. Give the wheel a slow spin and a visual check before refitting it to the board, just to confirm the tube has not been caught anywhere in the clamping area.
Why this matters more if you actually ride off-road
Street riders rarely think about their hubs. Riders who take their board onto gravel, loose trail or the kind of mixed terrain you find around Queenstown's back paths or the forestry roads outside Hamilton think about it constantly, because that is where tyres actually wear and punctures actually happen. If you are riding terrain like that regularly, being comfortable with this job is not optional maintenance, it is part of owning the board properly.
This is exactly the kind of riding the Renegade Diablo was built around. It is Evolve's purpose-built off-road board, with a wider stance than the rest of the range and a solid carbon deck designed to handle rough trail rather than just tolerate it. If you are covering real distance off sealed paths, whether that is loose trail sessions around Christchurch or longer rides out past Wellington's hill lines, the Renegade Diablo is set up for that terrain from the ground up rather than converted to manage it.
Owning a board like this also means owning the maintenance that comes with it. Tyres wear, tubes puncture, and hubs occasionally need attention, and none of that is a flaw in the board. It is simply what off-road riding involves. Keep a 1/8-inch Allen key with your kit, understand the basic anatomy of the hub, and a flat tyre becomes a ten-minute job rather than a reason to stay home.
The honest takeaway
A punctured all-terrain tyre is rarely a serious problem, it is a wheel-level fix you can handle yourself once you understand that the hub is simply a clamp around the tyre and tube. Learn the process once, keep the right tool in your bag, and you will spend far less time worrying about trail conditions and far more time riding them. For riders who are serious about that kind of terrain, a board built for it, like the Renegade Diablo, makes the whole experience feel a lot less like a compromise.
-
Posted in
electric skateboard, evolve
