


Skateboard Grip Tape: how to clean and re-grip it
Let’s make your board look like new! There are a few ways we can clean the skateboard grip tape, ranging from the very simple, all the way through to the more involved process involving a pressure washer.
Method #1: Brush
The first method we’d recommend involves a toothbrush or a nylon brush and just spot cleaning the deck and basically looking at where the dirt surfaces are, giving them a light brush, seeing if you can loosen up the dirt and clean the spot for you. Sometimes if it hasn’t been ingrained for a while, it does come away quite quickly. Sometimes when it’s a little bit more ingrained, you might need to try a little bit more force. But basically, it is just like you would brush your teeth; brushing across the deck, no chemicals involved, no liquids or anything. It’s literally only using the brush to loosen up the dirt.
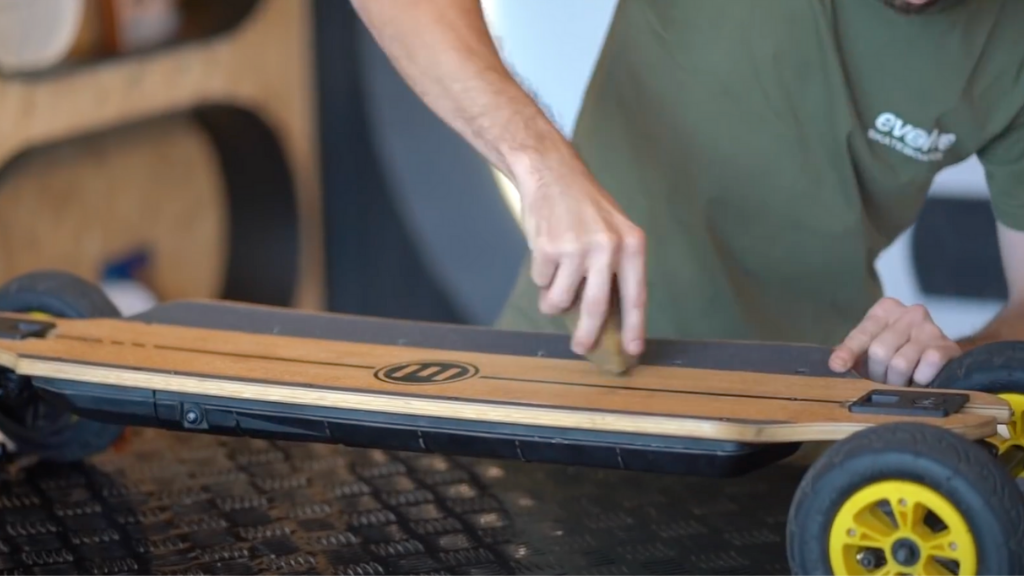
Method #2: Grip Gum
Now the grip gum method we’d probably do after we’ve tried using the toothbrush or the nylon brush to loosen up the dirt. If that hasn’t helped the process, we simply take the grip gum, and we dab it over the dirty area on the board repetitively for about 10 seconds just to pull some dirt away. If after that it hasn’t removed the spot, just move on to the next step. We may need a deeper cleaning method to get that spot out.
For the Carbon deck, once we’ve finished with the deck using the toothbrush, nylon brush and grip gum method, I recommend wiping over the carbon surfaces using a slightly damp rag. Given the coding that is on the carbons, that should wipe the dirt away very quickly, make it very easy to clean. If there are small scratches however that you’d like to get rid of, we’ve had good results using car polishes, specifically something like ScratchX. And that reduces the visibility of the scratches on the board.
Method #3: Pressure cleaner
For the final method, we recommend using the pressure cleaner. This will apply with all our boards, from the Bamboo series through to the Carbon model. So you simply remove that before you take any pressure hose near it.
You have to disassemble the board entirely before we start this. We only want the deck to clean. So we don’t want any of the other components nearby when we’re carrying this out.
So to start, we recommend removing the eight bolts on the top of the Bamboo deck. This will help you remove the battery case, which should drop down very quickly. Make sure you have something under it to support it because you don’t want to drop this component. It is the brains of your skateboard. Once this is away, you will notice there are two cords that run through to your motor.
With the trucks themselves, you can either remove the kingpins first or the base plates themselves, whatever you find easiest, but you remove the base plates. We recommend four screws on the top of the deck supported by the T Tool upside down, holding in the truck knut. Remove these slowly. Once it’s slightly moving, remove the second kingpin, which is on the truck arm of your skateboard, and this should allow you to pull the base plate away and lift the board straight out.
If you’re looking to re-grip your board, firstly, you’re going to need to get the original grip off, and we recommend using paint thinner type product to loosen up the surface itself, and then you simply go through and wipe that away. You can see one of our previous videos for a more detailed explanation of how we did that. But once you’ve got to that process, we recommend full sand on the deck, giving a nice, smooth surface to work with, and then you can either use a standard skate grip tape, a clear grip tape if you’ve done artwork, or for the best visibility, something like a clear spray-on grip tape is a good option.
The Bamboo and Carbon series both of these have a stick-on style grip tape already. So you’ll only need a hairdryer or a heat gun on very low heat just to brush over the board, slightly loosen up that adhesive and peel the grip tape away.
So to reassemble the board, I recommend starting with the front truck and then the rear truck. It is simply the four screws on the base plate that we took off to remove the board, screw and tighten them in, flip the board over, put your truck arm back on and turn down the kingpin to whatever tightness you prefer.
On the rear, it’s the same, but you may notice there are some cable retainers. Please make sure you put these in on the front truck bolts, as this will help keep the cables up and away from the ground and help prevent damage to your board. Once we have the cables up, we simply plug these cables back into our motor controller, remembering the white square plugs into the motor controller itself and the yellow bullet plugs matching up to each bullet plug in the inside of the board itself.
Once this is done, I recommend lining the screws up above the board, putting two screws in loosely at one end, tighten them down slightly and then turn your board on its side so you can line those cables back up safely. Once they’re in tightly, tighten both those screws down and simply replace the rest of them remaining.
Check out more videos about maintenance tips 👇👇👇